
So I wanted a desk with a lot of workspace. Even cheap small desks are a lot of money.. I decided to try and make one. It came out pretty well, so here is what I did. Anyone else who is going to attempt this can hopefully find some use out of this thread. I really saved a ton of money, and I have something that is nice and unique. The entire project took me a week to complete, between cutting the wood with my hand saw, sanding, letting the stain and poly dry and clean up. I spent about 2 hours a day, but it was well worht it.
It is 8x4, so I have plenty of room, it's killer. It doubles as a work bench!
I started off by walking into Home Depot, I literally just winged this whole process. I have little carpenter skills, so don't judge.
Tools: Power drill
Hand Saw
Brush
Sandpaper/sand block
This image has been resized. Click this bar to view the full image. Original 1024x768 is 64KB.
I found a big piece of wood, yay!
29.99, 8x5 sheet of wood.. cool.
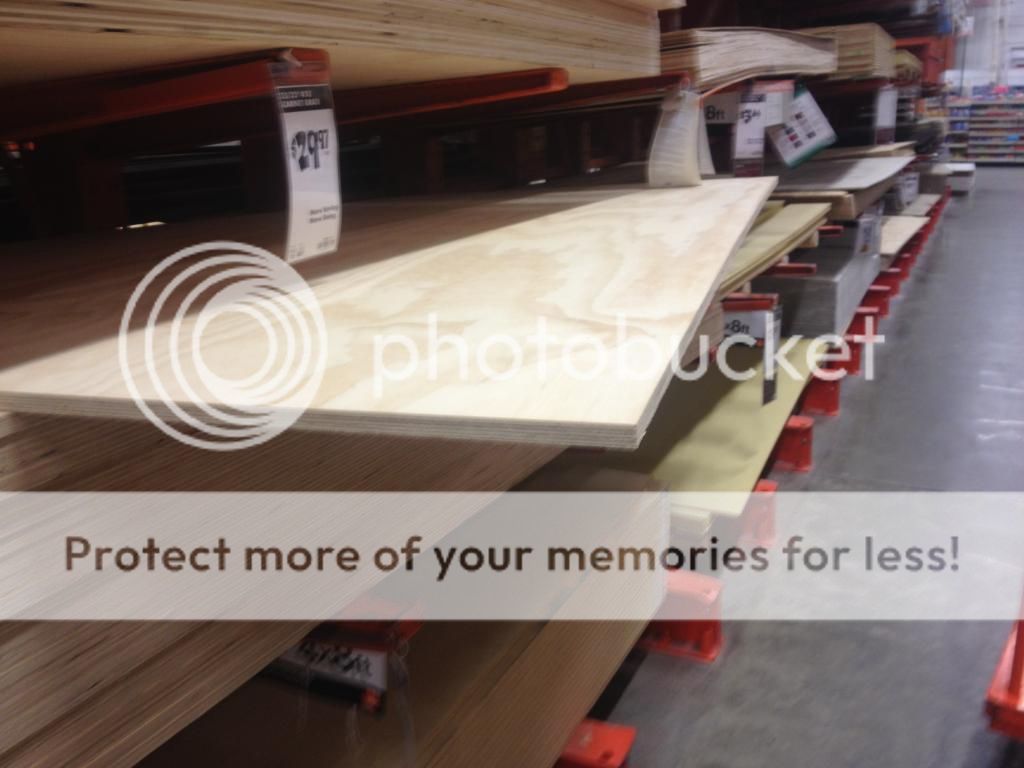
I grabbed a couple 2X4's from the cheap wood bin, and had the Home Depot employe cut them both into 8 35" pieces.
I had him cut the 8x5 sheet of wood length ways about a foot from the top.

Okay, if you are an amature carpenter like myself, do yourself a favor, and drill holes in the wood before you attempt to put the screws in.
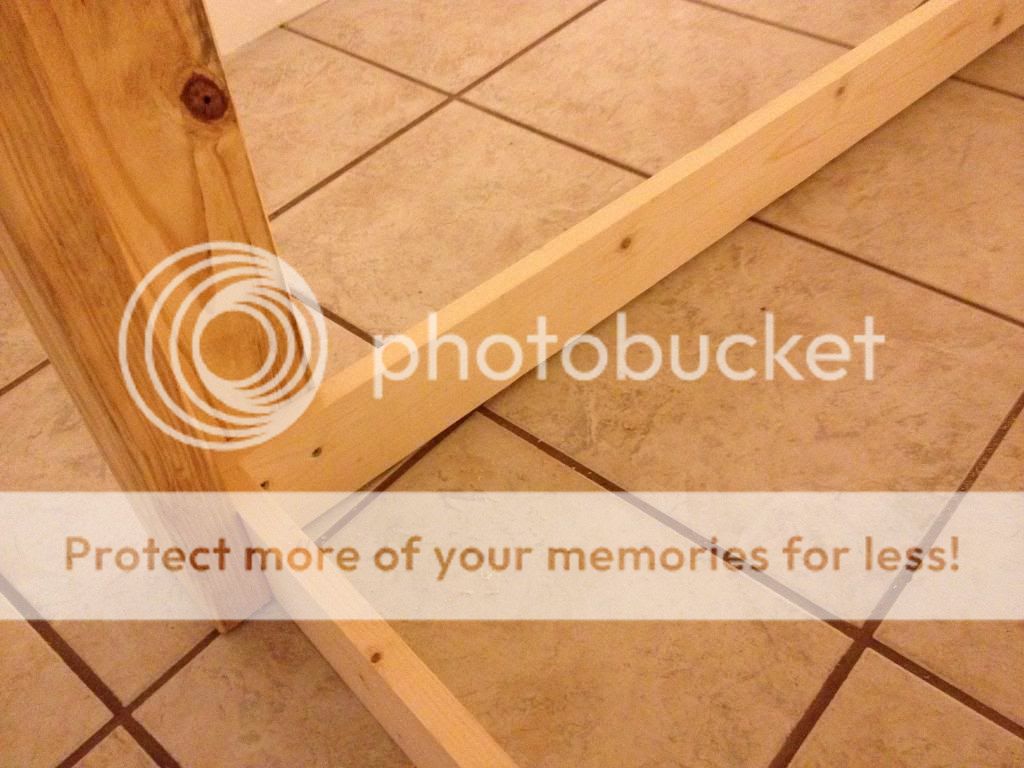
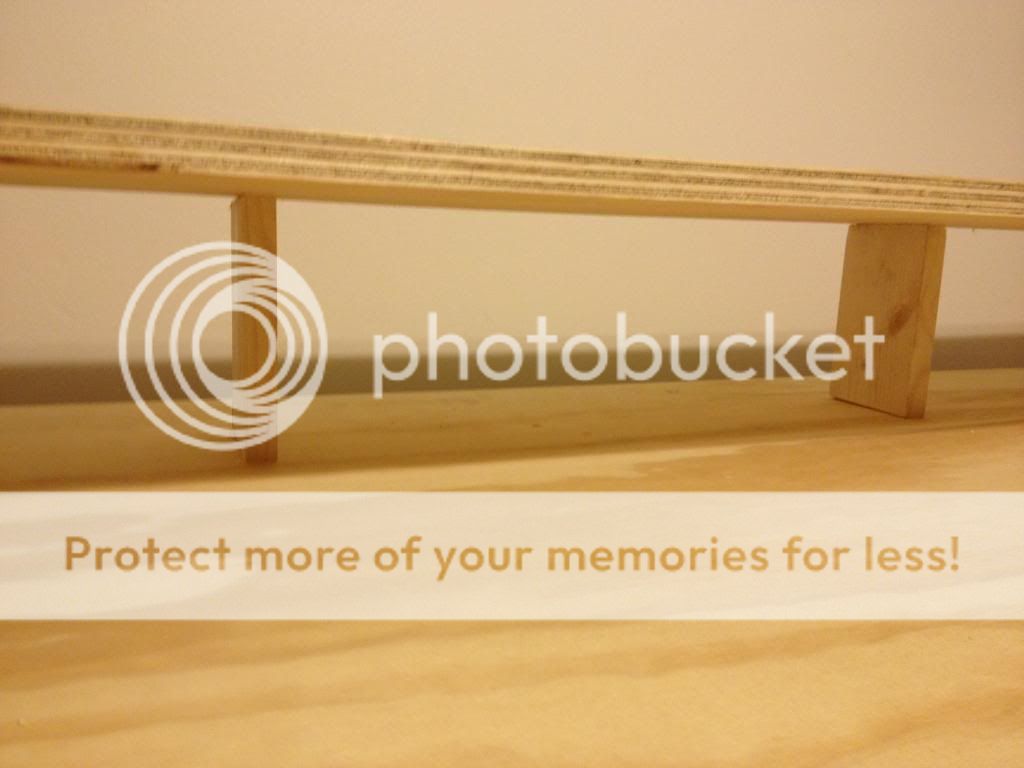
For extra strength, I paired the pieces togther to make the legs like so..
Bam, screwed the legs right onto the table top.

I picked up some cheap 8' pieces of wood, they were $2.99 a pop. connected all the legs along the bottom, to keep the foundation sturdy. I kept the front of the desk open.
with some of the left over scraps from the base of the desk I fashioned them together, screwed them to the top of the desk, and laid the 1x8' piece of wood cut off the 8x5 on top. (hope I'm not confusing you, the pictures should explain)
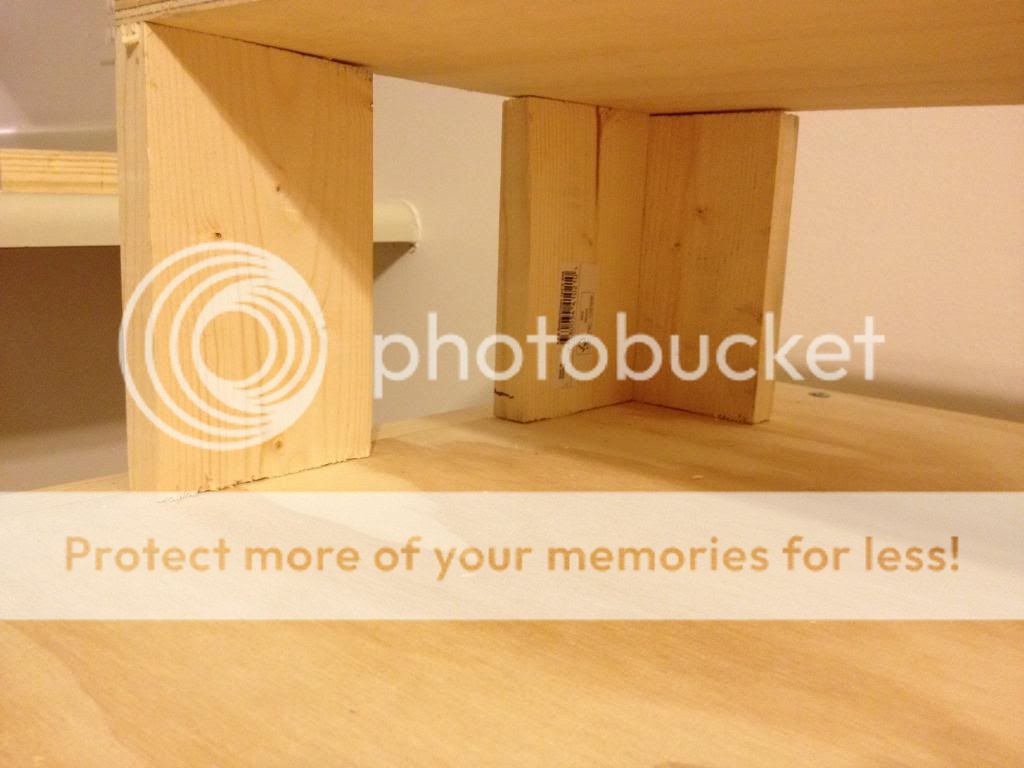
Looks like a desk now! If you are doing this your self make sure to are taking very good measurments, and you use a wood block or somethig to make the cuts nice and even. I just scored the wood where I wanted to cut with a pencil and hacked away at it with the saw. I ended up having to force pieces together. bad mojo.
screwed a peice on each side, help reinforce the desk and gave it a cleaner look. ( I'm totally just winging everything here)

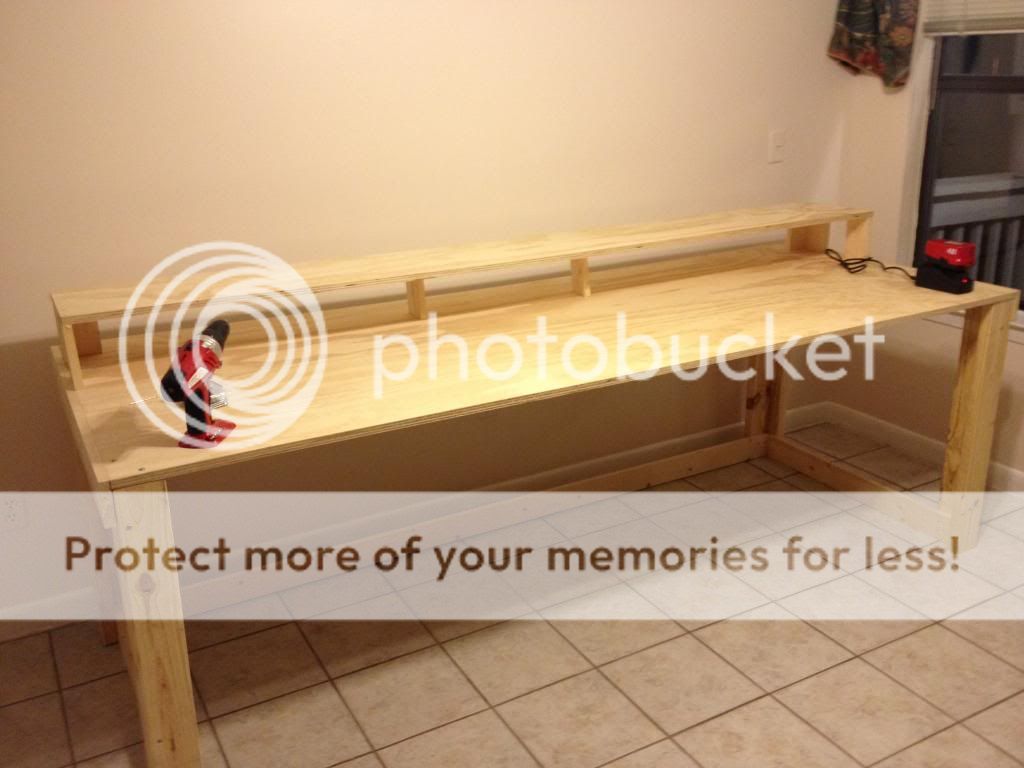
Bam. Now the top part is nice and sturdy! thanks to my trusty power drill and my ingenious meticulously placed pieces of scrap wood.
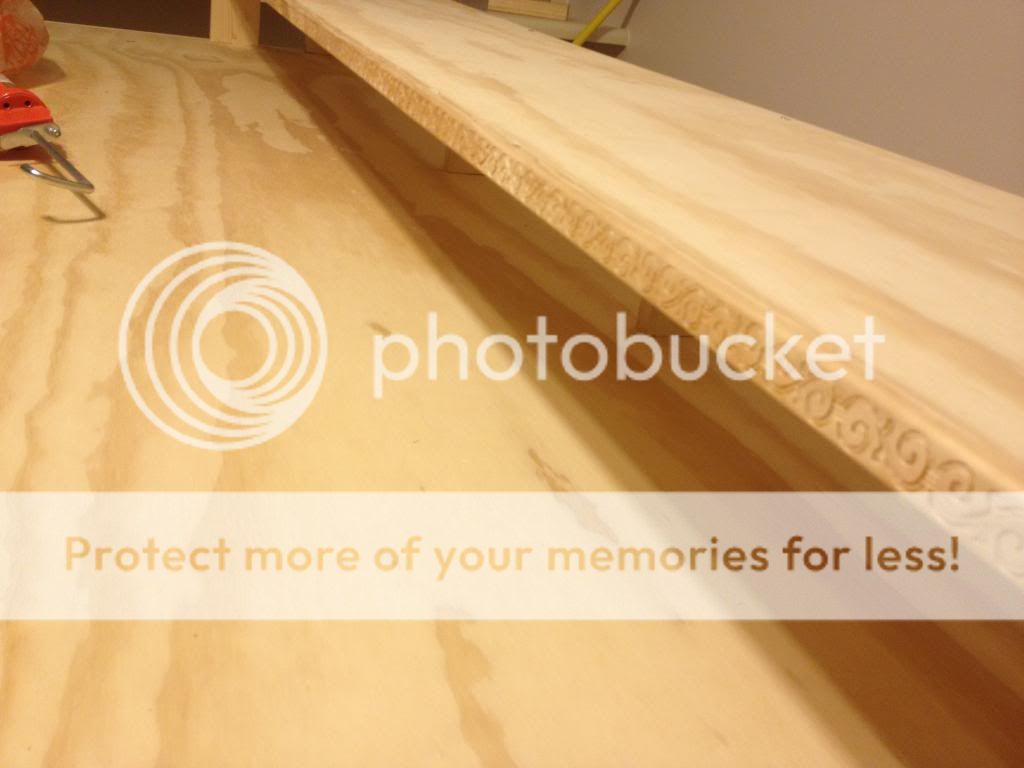
I found a 1"x8' strip of molding, fit perfectly over the edge. nice little touch.
I used liquid Nails to adhease it.
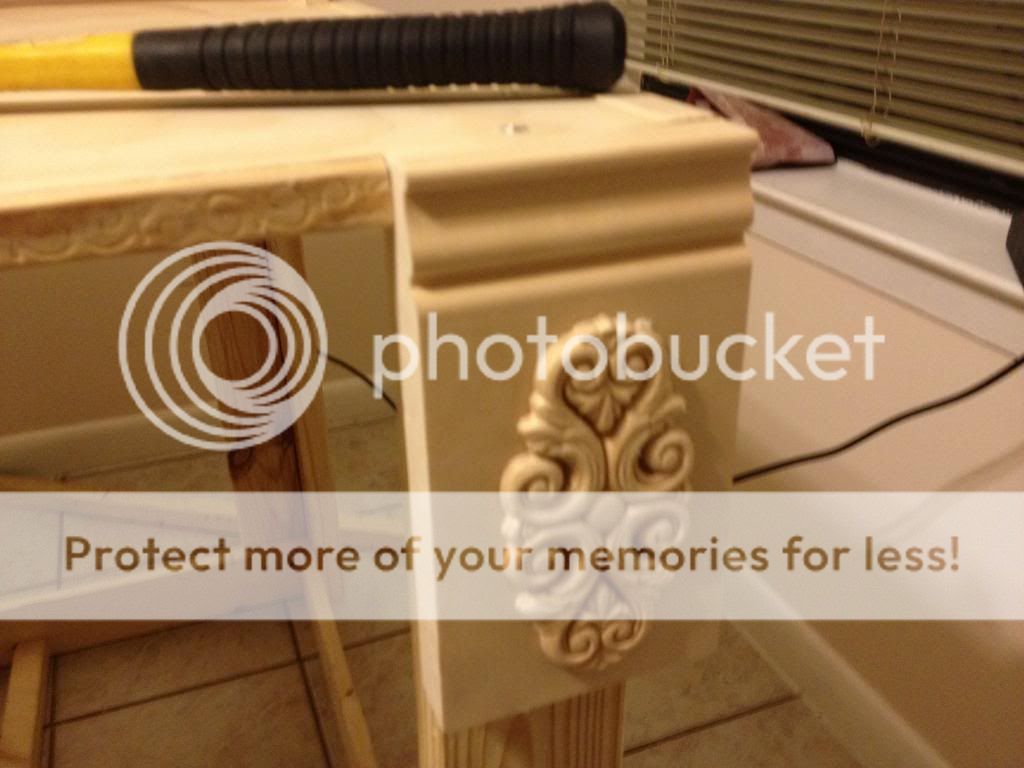
This is also out if the molding section. They had all kinds of stuff that you could use to ornate your desk.
Sand the desk Before you apply the stain. Please, do not skip this, I tried to and it came out like S***.
Also, Don't use the Poly/Stain all in one..it sucks. I stained the whole desk with it. Came out horrible, so I barrowed my friends power sander, and sanded the whole desk again. Big fat waste of time.
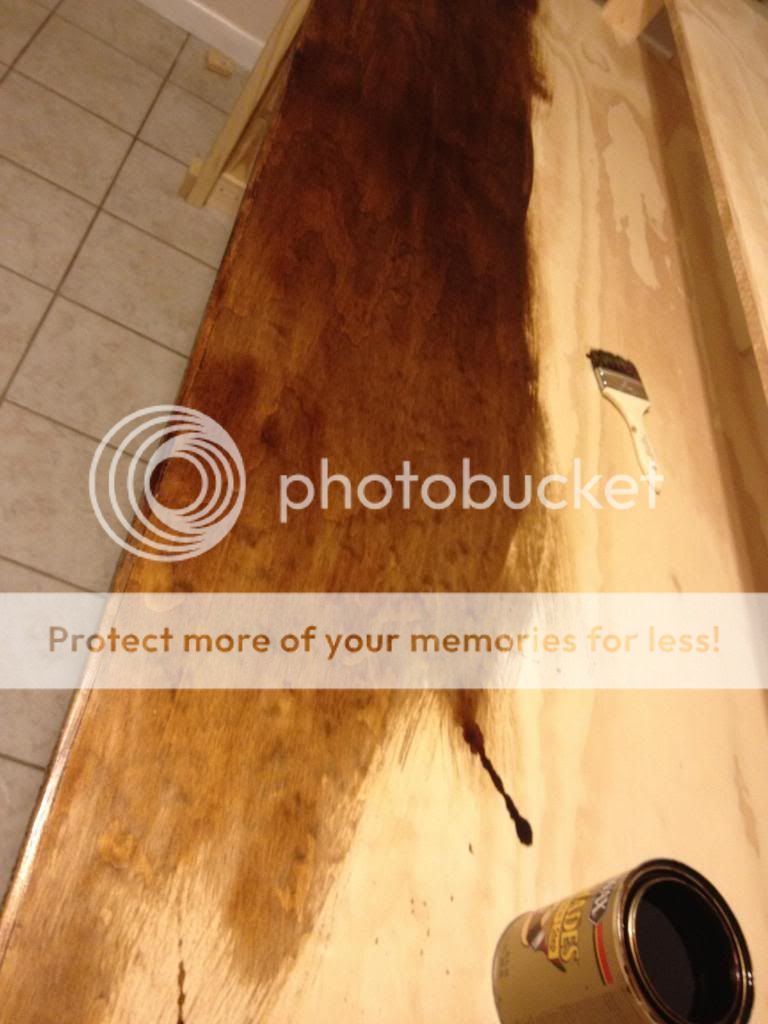
I went back and got the stain called "honey" and a can of Poly. I applied the stain with a rag, gave it a couple coats. Then applied the poly. I put 3 coats of poly on mine. Put it on light. I didn't sand in between coats because I was afraid it would scuff the poly up. Next time I do this, I plan to get the finest sandpaper I can find and lightly sand in between coats to keep the surface smooth. Invest in a decent brush when applying the poly. It will suck when pieces of your cheap brush start falling off onto you hard work.

yay! now my whole apartment wreaks of poly.
I put a 2x4 under the top sheet of wood, about 7 inches from the front edge to act as support, to keep the top less flimsy. Then I added this handy keyboard shelf. I found it at Office Max.

also picked up a sweet chair at Office Max!
Bam studio desk! total cost: $90, i could have spent less if I had not bought that stupid Polyshades all in one stain/poly.


You should watch The Decent, it's pretty brutal.
Thanks for taking the time to check this out!
It is 8x4, so I have plenty of room, it's killer. It doubles as a work bench!
I started off by walking into Home Depot, I literally just winged this whole process. I have little carpenter skills, so don't judge.
Tools: Power drill
Hand Saw
Brush
Sandpaper/sand block
This image has been resized. Click this bar to view the full image. Original 1024x768 is 64KB.
I found a big piece of wood, yay!
29.99, 8x5 sheet of wood.. cool.
I grabbed a couple 2X4's from the cheap wood bin, and had the Home Depot employe cut them both into 8 35" pieces.
I had him cut the 8x5 sheet of wood length ways about a foot from the top.
Okay, if you are an amature carpenter like myself, do yourself a favor, and drill holes in the wood before you attempt to put the screws in.
For extra strength, I paired the pieces togther to make the legs like so..
Bam, screwed the legs right onto the table top.
I picked up some cheap 8' pieces of wood, they were $2.99 a pop. connected all the legs along the bottom, to keep the foundation sturdy. I kept the front of the desk open.
with some of the left over scraps from the base of the desk I fashioned them together, screwed them to the top of the desk, and laid the 1x8' piece of wood cut off the 8x5 on top. (hope I'm not confusing you, the pictures should explain)
Looks like a desk now! If you are doing this your self make sure to are taking very good measurments, and you use a wood block or somethig to make the cuts nice and even. I just scored the wood where I wanted to cut with a pencil and hacked away at it with the saw. I ended up having to force pieces together. bad mojo.
screwed a peice on each side, help reinforce the desk and gave it a cleaner look. ( I'm totally just winging everything here)
Bam. Now the top part is nice and sturdy! thanks to my trusty power drill and my ingenious meticulously placed pieces of scrap wood.
I found a 1"x8' strip of molding, fit perfectly over the edge. nice little touch.
I used liquid Nails to adhease it.
This is also out if the molding section. They had all kinds of stuff that you could use to ornate your desk.
Sand the desk Before you apply the stain. Please, do not skip this, I tried to and it came out like S***.
Also, Don't use the Poly/Stain all in one..it sucks. I stained the whole desk with it. Came out horrible, so I barrowed my friends power sander, and sanded the whole desk again. Big fat waste of time.
I went back and got the stain called "honey" and a can of Poly. I applied the stain with a rag, gave it a couple coats. Then applied the poly. I put 3 coats of poly on mine. Put it on light. I didn't sand in between coats because I was afraid it would scuff the poly up. Next time I do this, I plan to get the finest sandpaper I can find and lightly sand in between coats to keep the surface smooth. Invest in a decent brush when applying the poly. It will suck when pieces of your cheap brush start falling off onto you hard work.
yay! now my whole apartment wreaks of poly.
I put a 2x4 under the top sheet of wood, about 7 inches from the front edge to act as support, to keep the top less flimsy. Then I added this handy keyboard shelf. I found it at Office Max.
also picked up a sweet chair at Office Max!
Bam studio desk! total cost: $90, i could have spent less if I had not bought that stupid Polyshades all in one stain/poly.
You should watch The Decent, it's pretty brutal.
Thanks for taking the time to check this out!