Bass Restoration Thread

Danimal

Inner Beast
Apr 29, 2005
426
1
18
54
Chicago
www.edensfall.com
Well, winter is here and unfortunately, in Chicago, that usually means spending a lot more time indoors. So, to keep myself busy (as if I didn’t have enough to do), I decided to restore and refinish one of my basses.

I HAVE NEVER DONE ANYTHING LIKE THIS BEFORE!!! So, if anyone has any experiences or suggestions that they would like to share, I’d love to hear them.

First of all, let me fill you in on the history of this particular bass:

During the recording of our “Harmony of Lies” CD, I spent a lot of time experimenting with my sound to get a tone that I would be happy with. I am really into modern production of Metal recordings, but feel that a lot of the time the bass guitar gets lost in the mix. One of the recording engineers (who is also a good friend of mine) named Marc Holland brought his 5 string Status bass to the studio for me to try plugging into my rig. If you are not familiar with Status, they are made in England and are indeed a very fine instrument. You can check them out on the web at www.status-graphite.com

Hearing the tone on this bass completely blew me away. I was especially impressed with the “note” that could be heard by the low strings compared to how it is usually more of a vibration and “feel”. I used this bass exclusively for the recordings and was very sad when I eventually had to give it back.

Since then, I have been keeping my eye on eBay and the local music shops hoping to pick one up for myself. Sooner that I expected, I found one on eBay that appeared to be identical to Marc’s bass. I jumped in on the bidding (which ran up to about $1,000 USD including shipping) and won! However, as I’m sure a lot of people have learned, things that look great on a 400 pixel wide photo on eBay are not always what they are cracked up to be…

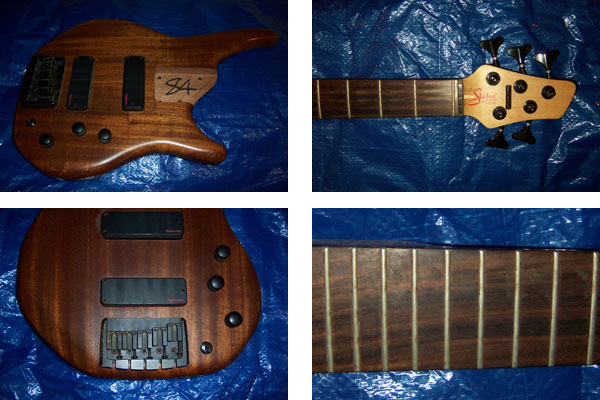
When the bass arrived, it was in terrible shape. It was completely neglected and looks like it was left outdoors or something. The hardware was all rusty, the fretboard was moldy, and the electronics were pretty much shot. Sadly, I put it in its case and let it sit. Until now…

I decided that since I am going to replace all of the electronics and hardware, I might as well take a shot at sanding down the body and refinishing it. So, what follows are some pictures of the various steps along the way.

I am learning as I go, so if anyone has any comments or suggestions, please let me know!

Thanks,

Dan
 
Here are the original “BEFORE” pictures. The bass actually cleaned up pretty good and doesn’t look that bad. However, there are quite a few nicks and wear spots that don’t really show up in the pictures. Plus, at this point, I am not turning back and want to see what I can come up with.

01-Original.jpg
 
STEP #1 – Disassembly and sanding

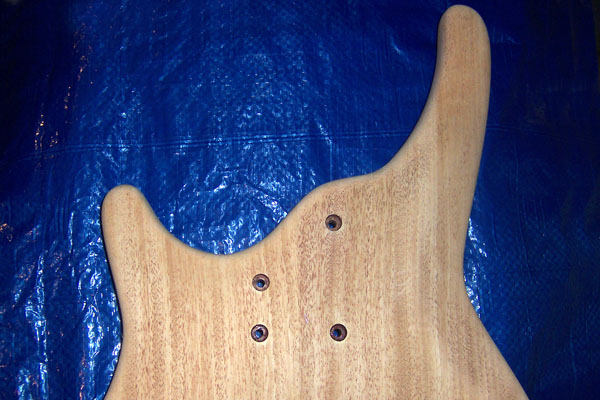
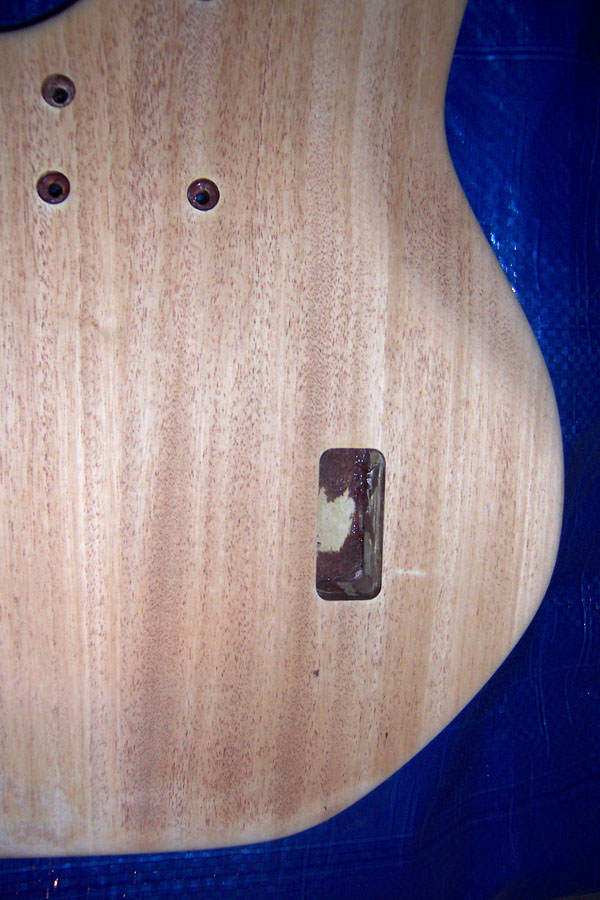
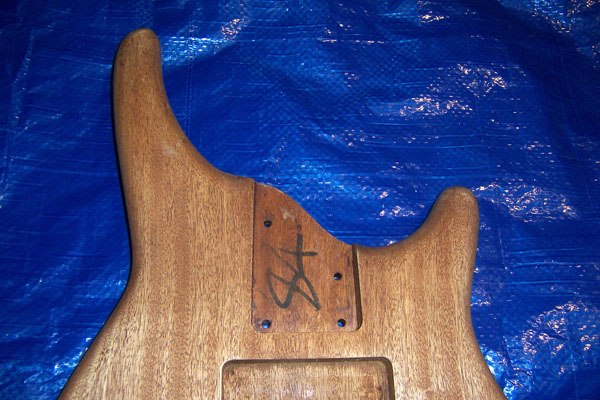
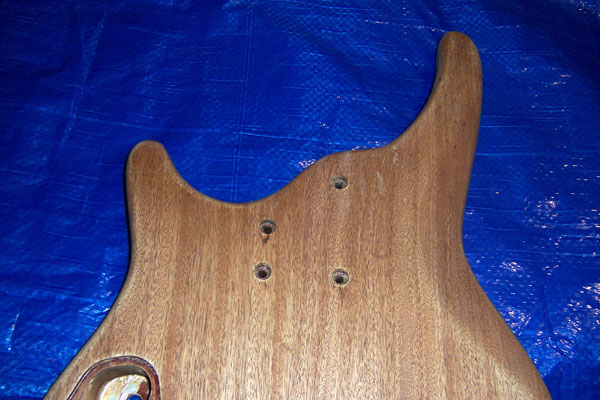
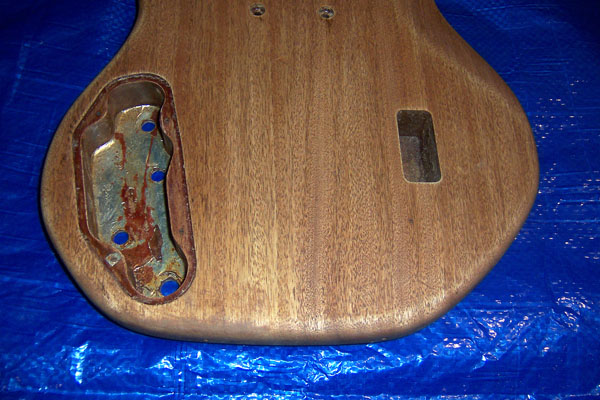
The first thing that I did was to completely take the bass apart and remove all of the electronics and hardware, unbolt the neck and start sanding the body. I started with some coarse (80 grit) sandpaper, then made my way to a medium (150 grit). I had to work on the body for several days in order to get past the original finish and oils that have soaked into the wood.

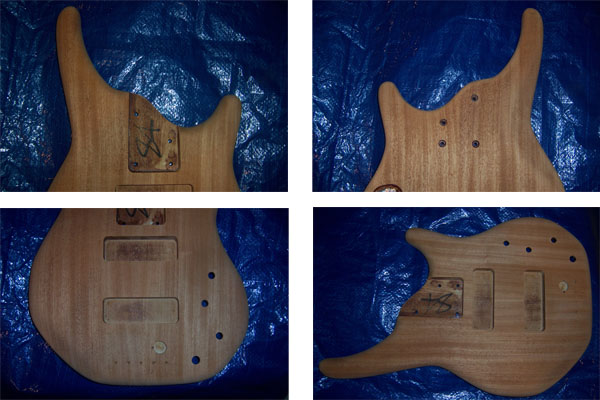
I am finally down to the bare wood, which by the way is Mahogany. Here are some photos:

02-Sanded.jpg
 
STEP #2 – Wood Bleaching

I know that Mahogany is normally pretty dark, so I will probably go with a “natural” finish, but I want as much of the grain to show through as possible. I went over to Home Depot and bought some stuff called Wood Bleach. It is supposed to “make unfinished wood lighter and brighter to let the beauty of the grain show though.”

It is a 2 part process. After sanding and removing the dust with a tack cloth, I applied “Part A”. I applied it with a nylon bristle brush and got the wood nice and wet. You could immediately see the wood changing colors and I had to be very careful not to let the solution run or pool because it started to make the wood look “splotchy.” Luckily, if you keep applying more and working it into the wood with the brush, it evens out. Then, you are supposed to leave this solution on for 5-10 minutes before applying “Part B”.

They say to use a shorter time for soft wood and longer time for hard woods. Since Mahogany is very hard, I let it sit for about 15 minutes and applied “Part B” which is supposed to sit overnight. Again I had to be pretty careful to make sure it went on evenly, but it seemed to work pretty well.

The next morning, the wood was noticeably lighter. The instructions say that you can repeat the procedure a second time, if desired. I will sand it a little tonight and decide. Here are the latest photos:

03-Bleached.jpg
 
Hmm.... The Wood Bleach worked a lot better than I expected. Now I am not sure if I want to go with a natural Mahogany finish or with a transparent color. Both of my Conklin basses are transparent red, so if I go with a color it will probably be blue or purple.

Have any of you ever done a transparent finish on their guitar? Is the best way to die the wood with the color, then clear coat or to mix a tint with the clear coat itself?
 
After thinking about it for a while, I agree. I am going to go for a natural finish. Like I said before, I want to try the bring out the grain as much as possible.

So, here is what I plan to do:

1. First, I am going to repeat the bleaching procedure to make the surface of the wood as light as possible.

2. Then, I am going to buy a medium shade of stain that will penetrate into the wood and darken the grain.

3. After I am done staining, I will lightly sand the whole guitar to hopefully remove the stain from the surface of the wood and reveal the lightened color from the bleaching and leave the darkened stain that has soaked into the grain.

4. Lastly, I intend to put several coats of gloss clear polyurethane to seal the wood and make it shine.

We will see...
 
STEP #3 – 2nd Bleaching

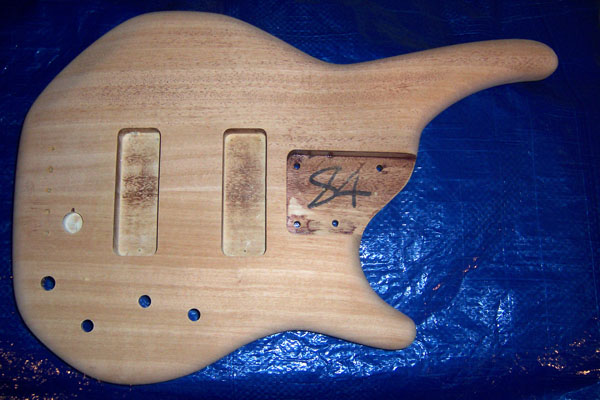
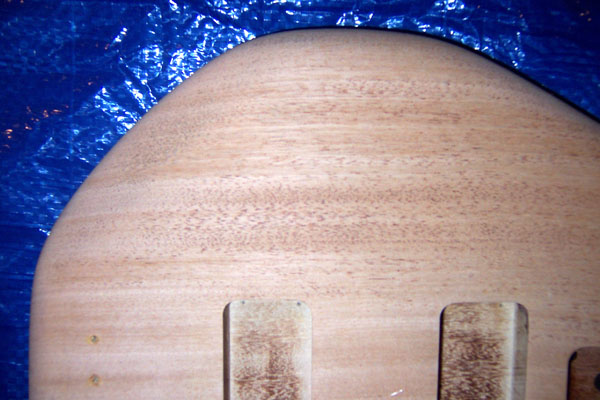
Here are the results of the second bleaching. I basically followed the exact same procedure as described above.

The wood is definately lighter. I am pretty happy with the results so far... :D

Here are some more pictures:

04-Bleached-2a.jpg

04-Bleached-2b.jpg

04-Bleached-2c.jpg

04-Bleached-2d.jpg

04-Bleached-2e.jpg
 
STEP #4 - Staining

OK, the prep work is done. Time to move on to staining.

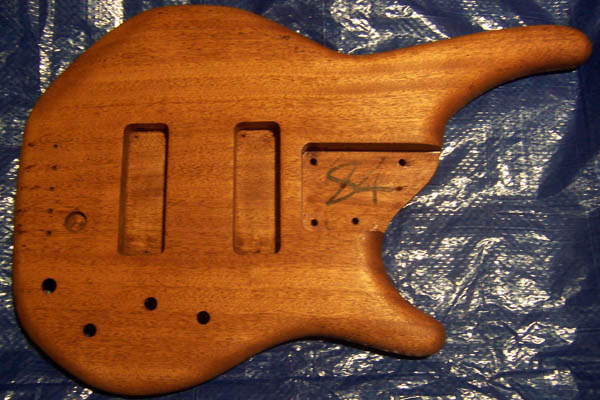
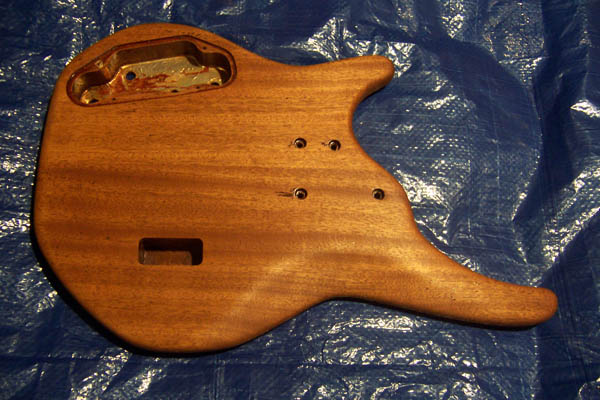
I did not want to get anything too dark that would counteract the effects of the wood bleach. So, I selected a penetrating stain called "Golden Mahogany" and applied two coats to the body of the bass.

It looks a little too dark and uniform, but my plan is to sand it again to allow the bleached wood to show through and leave the stained color inside the grain.

Here are some photos: :hotjump:

05-Stained-1a.jpg


05-Stained-1b.jpg
 
STEP #5 - Re-sanding

Back to work!!!

Now that I've given the stain a chance to fully soak into the wood and dry, I am proceeding to sand it in order to bring out the grain.

The first thing that I did was to use a medium (150 grit) sandpaper and sand perpendicular to the grain. I figured that going with the grain would allow the abrasives to get into the grain and sand away too much. So, by lightly sanding against the grain, I am trying to remove the stain from the top surface to expose the bleached wood, while at the same time leaving the darker color in the grain to make it look more pronounced.

After I got it to a reasonable point, I switched to a fine (240 grit) sandpaper and VERY lightly sanded the bass (with the grain, this time) to smooth out any perpendicular scratched I may have put into the wood with the medium sandpaper.


Here are the results:

06-Sanded-2a.jpg


06-Sanded-2b.jpg


06-Sanded-2c.jpg


06-Sanded-2d.jpg
 
STEP #7 – Try Again!!! :mad: :puke:


I just noticed that it has been almost 3 months since I updated this thread. Honestly, this project lost a little steam. Here’s what happened…

I was very happy with how everything was coming along, but learned the hard way that you have very little control on how materials are penetrated into the wood and small mistakes have a way of magnifying themselves when the wood is finished.

The logical next step was to start applying clear coat to the body of the bass. However, once I applied the first coat and let it dry, it was obvious that I had not been as careful as I could have been in the initial sanding. There were several spots along the top edge of the bass that must have still had a little of the original finish in the pores of the wood. These spots looked much darker and “more red” than the rest of the body. The clear-coat really brought that out.

Unfortunately, I was a little pissed and didn’t bother taking any pictures of what I am talking about. Maybe I could have left it as is, but I am a perfectionist and this was the part of the bass that I would see every time I looked down at the bass while playing it.

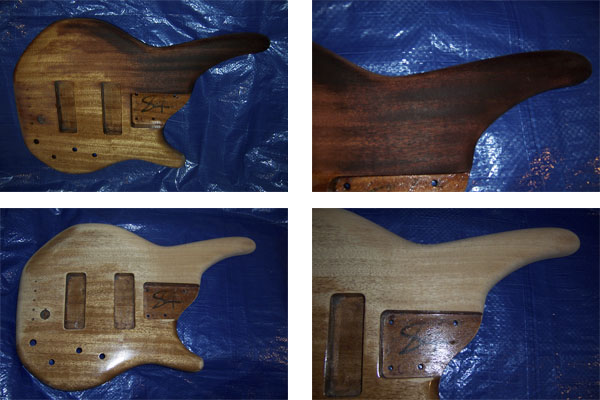
My only option was to stop in my tracks, re-sand the top half of the bass, and re-bleach it. So, here are some pictures of this unnecessary pain-in-the-ass step:

(One thing that I forgot to mention before is that when you apply the wood bleach, the wood actually looks much darker at first until it sits overnight)… You can see that in the top 2 pictures.

07-Re-Bleached.jpg
 
STEP #8 – Clear-coat

Now that I am back on track, the finish of the bass looks much more consistent. I sucks that I had to re-do half of the bass, but looking back now I’m glad I did.

I plan to put many, MANY coats of clear on this bass. I want it to have that “wood grain under glass” kind of look to it. I am going to lightly sand in between coats with extra fine steel wool (#000) to remove and dust, dimples or bumps.

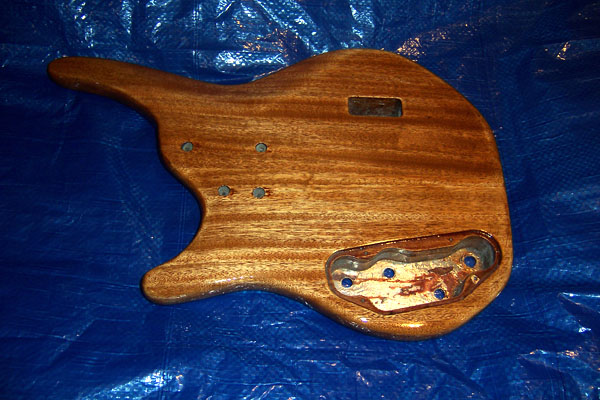
Here is how it looks after one coat of clear:

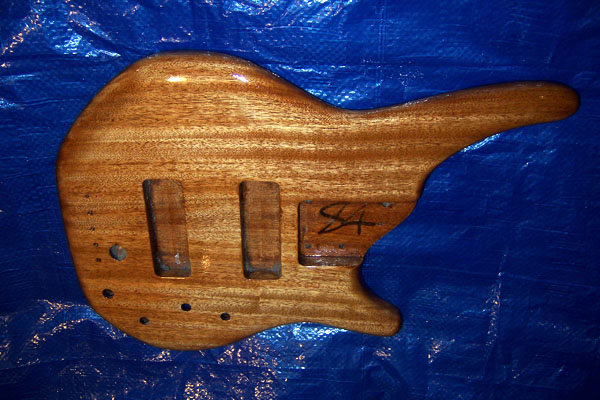
08-Clearcoat-1a.jpg


08-Clearcoat-1b.jpg
 
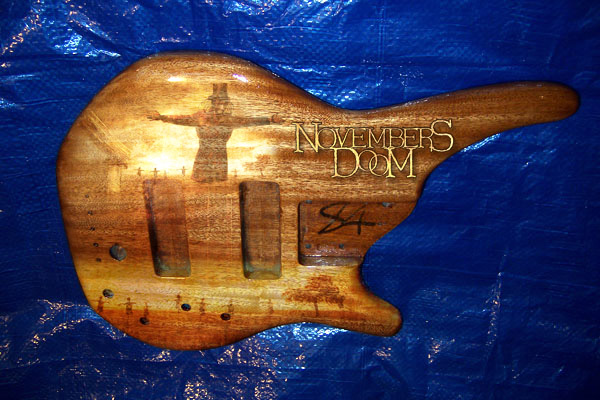
Damn, that shit's wack! Hehe! Beautiful guitar! Even the photoshopped one looks sweet, maybe you should make a hobby out of this. Today my dad told me about some dude who buys screwed up guitars on eBay and does exactly what you did to make them beautiful and kick ass.... What's this about YOU being on bass in November's Doom? I thought it was pretty obvious that they wanted me, I mean after all, Paul named my band plus he loves me. :)
 
I would make love every day to this beautifull piece of wood...

being this a "Dan's latest project" and having Paul from ND here...I have to ask this...sorry for being completely off topic...don't ban me
there have been roumers about you(Paul) replacing Peter Tägtgren as vocalist for bloodbath...any truth in that?