STEP #9 - Bleaching & Staining the neck
Ok, this thread has run a little off topic ... Time to get back to the project at hand. It's funny how this "Winter project" has carried on deep into the Summer. Oh well, hopefully I can have it done by NEXT Winter!
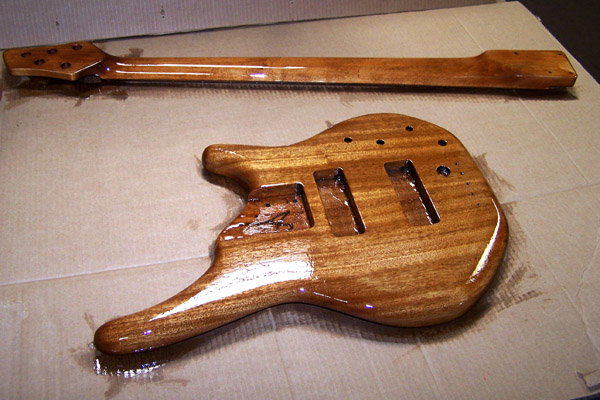
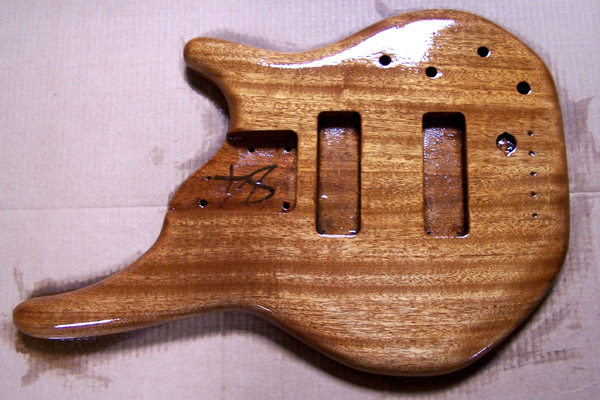
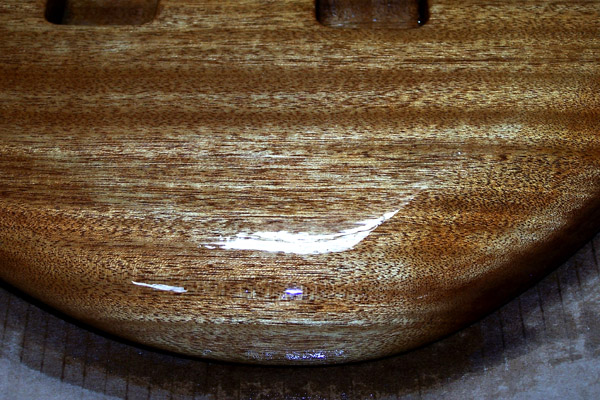
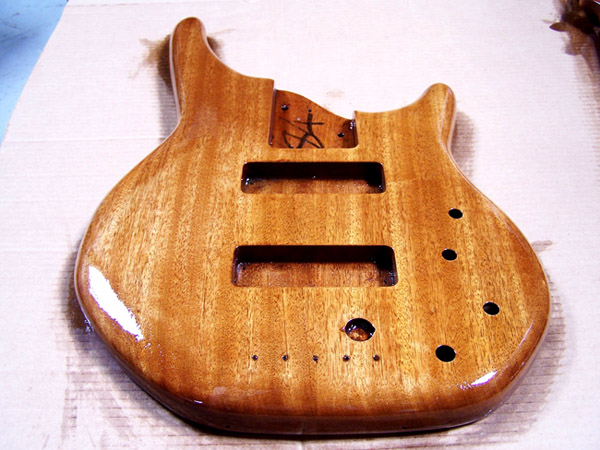
I put a few more coats of clear on the body. It is taking shape, but still has a long way to go before I get what I am after. So, nothing really worth taking a picture of yet. I am just continuing the process off clear-coating, steel wooling and repeating...
In the mean time, looking at this beautiful guitar body and glancing over at that nasty/moldy neck & fretboard was starting to bother me. So, I decided to work on the neck for a little while.
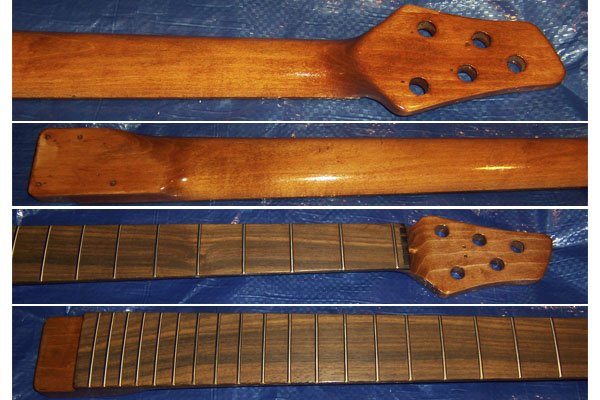
First, I took some Medium grit steel wool and tried to get the mold off of the fretboard. As I was doing this, I noticed that there was actually a pretty cool grain pattern going down the whole fretboard. So, as with my previous attempts to "bring out the grain", I decided to go for it and completely, strip, sand, bleach and stain the entire neck, headstock & fretboard. Then I am going to try to mask of the fretboard and only clear-coat the back of the neck and the headstock.
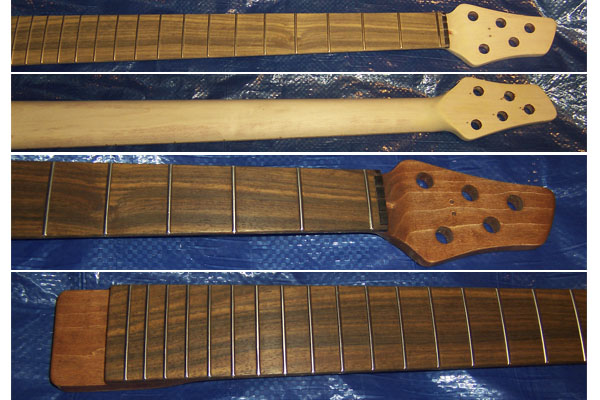
Here are a few new pictures. The top 2 are the neck & fretboard after sanding and bleaching (twice). The next 2 are after applying a light coat of stain and hitting it with Fine sandpaper to bring out the grain.
I will start the clear-coat for the headstock and back of the neck over the weekend, so I should have some more pictures next week.
Ok, this thread has run a little off topic

I put a few more coats of clear on the body. It is taking shape, but still has a long way to go before I get what I am after. So, nothing really worth taking a picture of yet. I am just continuing the process off clear-coating, steel wooling and repeating...
In the mean time, looking at this beautiful guitar body and glancing over at that nasty/moldy neck & fretboard was starting to bother me. So, I decided to work on the neck for a little while.
First, I took some Medium grit steel wool and tried to get the mold off of the fretboard. As I was doing this, I noticed that there was actually a pretty cool grain pattern going down the whole fretboard. So, as with my previous attempts to "bring out the grain", I decided to go for it and completely, strip, sand, bleach and stain the entire neck, headstock & fretboard. Then I am going to try to mask of the fretboard and only clear-coat the back of the neck and the headstock.
Here are a few new pictures. The top 2 are the neck & fretboard after sanding and bleaching (twice). The next 2 are after applying a light coat of stain and hitting it with Fine sandpaper to bring out the grain.

I will start the clear-coat for the headstock and back of the neck over the weekend, so I should have some more pictures next week.
